Product Photography Essentials for Beach and Sports Gear
- michaeldanielcampb
- Sep 5, 2025
- 5 min read
When it comes to showcasing beach and sports gear, the right photography can make all the difference. Whether you are selling surfboards, swimsuits, or hiking boots, high-quality images can attract customers and boost sales. In this post, we will explore essential tips and techniques for capturing stunning product photos that highlight the unique features of your gear.
Let’s dive into the world of product photography and discover how to make your beach and sports gear shine.
Understanding Your Audience
Before you start snapping photos, it is crucial to understand your target audience. Who are you trying to reach? Are they adventure seekers, beach lovers, or fitness enthusiasts? Knowing your audience will help you tailor your photography style to their preferences.
For example, if your audience is young surfers, you might want to capture the thrill of riding waves. On the other hand, if you are targeting families, focus on the fun and safety aspects of your products.
By understanding your audience, you can create images that resonate with them and encourage them to make a purchase.
Choosing the Right Location
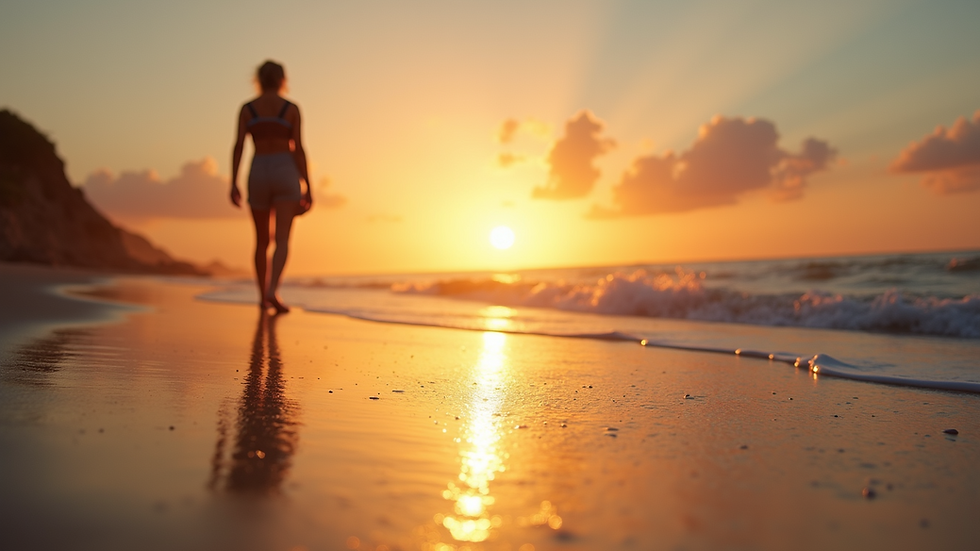
The location of your shoot plays a significant role in the overall look of your photos. For beach gear, natural settings like sandy shores or rocky coastlines work best. For sports gear, consider locations that reflect the activity, such as parks, trails, or gyms.
When selecting a location, keep these tips in mind:
Lighting: Natural light is your best friend. Early morning or late afternoon provides soft, flattering light. Avoid harsh midday sun, which can create unflattering shadows.
Background: Choose a background that complements your product. A busy or cluttered background can distract from the gear you are trying to showcase.
Accessibility: Ensure the location is easy to access and safe for both you and your equipment.
Equipment Essentials
While you don’t need the most expensive camera to take great product photos, having the right equipment can make a difference. Here are some essentials to consider:
Camera: A DSLR or mirrorless camera is ideal, but a good smartphone can also work well for beginners.
Tripod: A tripod helps stabilize your camera and ensures sharp images, especially in low light.
Lenses: A versatile lens, such as a 50mm or 24-70mm, can help you capture a variety of shots.
Reflectors: Use reflectors to bounce light onto your product, reducing shadows and enhancing details.
Editing Software: Post-processing is essential for polishing your images. Software like Adobe Lightroom or Photoshop can help you adjust colors, contrast, and sharpness.
Composition Techniques
Composition is key to creating visually appealing product photos. Here are some techniques to keep in mind:
Rule of Thirds: Imagine your frame divided into nine equal parts. Place your product along these lines or at their intersections for a balanced composition.
Leading Lines: Use natural lines in your environment to draw the viewer’s eye toward your product. This could be a path, a wave, or even the horizon.
Framing: Use elements in your environment to frame your product. This could be branches, rocks, or even other gear.
Close-ups: Don’t forget to capture details. Close-up shots can highlight unique features, textures, and craftsmanship.
Styling Your Products
Styling is an essential part of product photography. It helps create a story around your gear and makes it more appealing to potential buyers. Here are some styling tips:
Props: Use props that complement your product. For beach gear, consider adding towels, sunglasses, or beach balls. For sports gear, think about including water bottles, mats, or fitness trackers.
Color Coordination: Choose colors that enhance your product. Bright colors can attract attention, while muted tones can create a more sophisticated look.
Contextual Shots: Show your products in use. For example, photograph a surfboard on the beach with a person riding a wave. This helps customers envision themselves using the product.
Lighting Techniques
Lighting can make or break your product photos. Here are some techniques to ensure your gear looks its best:
Natural Light: As mentioned earlier, natural light is ideal. Position your product near a window or outdoors during golden hour for the best results.
Diffusers: If the sunlight is too harsh, use a diffuser to soften the light. This can be as simple as a white sheet or a professional diffuser.
Artificial Light: If shooting indoors, consider using softbox lights or LED panels to create even lighting. Avoid direct flash, as it can create harsh shadows.
Editing Your Photos
Once you have taken your photos, it is time to edit them. Editing can enhance your images and make them more appealing. Here are some basic editing tips:
Crop and Straighten: Crop your images to remove distractions and straighten any tilted shots.
Adjust Exposure: Make sure your images are well-lit. Adjust the exposure to brighten or darken your photos as needed.
Enhance Colors: Boost the vibrancy and saturation to make your products pop. Be careful not to overdo it, as you want to maintain a natural look.
Sharpen Details: Use sharpening tools to enhance the details of your product. This can make textures and features stand out.
Showcasing Your Gear
Once your photos are edited, it is time to showcase your gear. Here are some ideas for presenting your images:
Online Store: Use high-quality images on your website or e-commerce platform. Ensure they are optimized for fast loading times.
Social Media: Share your photos on platforms like Instagram, Facebook, and Pinterest. Use relevant hashtags to reach a wider audience.
Marketing Materials: Incorporate your images into brochures, flyers, or advertisements. High-quality visuals can enhance your brand’s image.
Engaging Your Audience
Engaging your audience is crucial for building a loyal customer base. Here are some strategies to connect with your audience through your photography:
Behind-the-Scenes: Share behind-the-scenes photos of your shoots. This gives your audience a glimpse into your process and creates a personal connection.
User-Generated Content: Encourage customers to share photos of themselves using your products. This not only provides social proof but also creates a sense of community.
Storytelling: Use your images to tell a story. Whether it’s a day at the beach or a hike in the mountains, create a narrative that resonates with your audience.
Final Thoughts
Capturing stunning product photos for beach and sports gear requires a combination of understanding your audience, choosing the right location, and mastering photography techniques. By following these tips, you can create images that not only showcase your products but also tell a story that resonates with your customers.
Remember, great photography is about more than just the gear. It is about creating an experience that draws people in and makes them want to be a part of it. So grab your camera, head to the beach or the trails, and start capturing the essence of your products.


Comments